Preparing Your Home for Floor Installation: Installing new flooring is an exciting home improvement project that can enhance the beauty and value of your home. However, proper preparation is essential for a smooth and successful installation process. This guide will walk you through each step to ensure that your home is ready for floor installation.
Do You Need floor installation in Halifax? Click Now
Why Proper Preparing Your Home for Floor Installation
Failing to prepare for floor installation can lead to issues such as uneven flooring, delays, and additional costs. By following the right steps, you can avoid common mistakes and ensure a long-lasting, professional-looking floor.
Step 1: Choose the Right Flooring
Consider Your Lifestyle and Needs
- Traffic Levels: High-traffic areas like hallways and kitchens need durable flooring such as hardwood or vinyl.
- Moisture Resistance: For areas like bathrooms and basements, waterproof options like tile or vinyl plank are best.
- Comfort and Insulation: Carpet or cork flooring can provide warmth and soundproofing.
Compare Flooring Materials
- Hardwood – Classic and durable but requires maintenance.
- Laminate – Budget-friendly with a hardwood appearance.
- Vinyl – Waterproof and easy to maintain.
- Tile – Ideal for wet areas like bathrooms.
- Carpet – Comfortable but requires regular cleaning.
Step 2: Measure and Plan Your Space
Take Accurate Measurements
- Measure the length and width of each room and multiply to get the total square footage.
- Add 5-10% extra for cutting and waste.
Create a Layout Plan
- Decide on plank direction or tile pattern.
- Consider transitions between rooms.
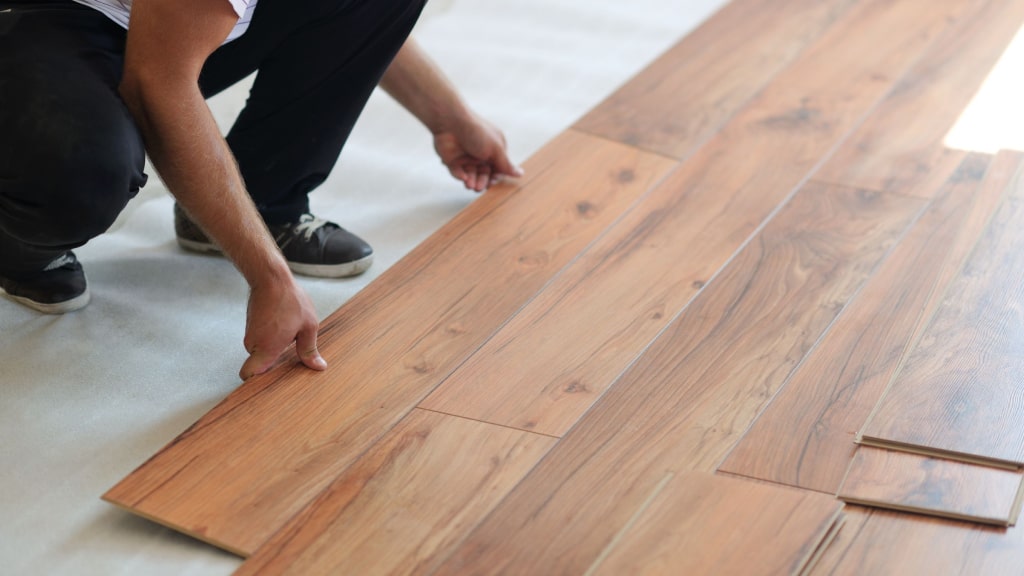
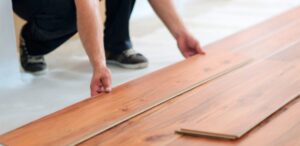
Step 3: Remove Existing Flooring
Tools Needed
- Pry bar
- Utility knife
- Floor scraper
- Vacuum and broom
Removing Different Types of Flooring
- Carpet: Cut into strips, remove tack strips, and clean the subfloor.
- Tile: Use a chisel and hammer to break and remove tiles.
- Hardwood or Laminate: Pry up boards carefully to avoid damaging the subfloor.
Step 4: Inspect and Prepare the Subfloor
Check for Damage
- Look for cracks, moisture damage, or uneven areas.
- Repair any damaged sections before installation.
Clean the Subfloor
- Vacuum and mop to remove debris.
- Ensure the surface is dry before installation.
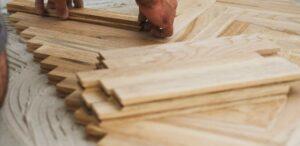
Step 5: Acclimate the New Flooring
Why Acclimation is Important
- Flooring materials expand and contract with temperature and humidity changes.
- Acclimating prevents warping and gaps after installation.
Acclimation Process
- Place flooring inside the installation area for 48-72 hours.
- Keep the temperature and humidity consistent.
Step 6: Gather Necessary Tools and Supplies
Essential Tools
- Tape measure
- Level
- Chalk line
- Saw (for cutting flooring)
- Adhesive or underlayment (if required)
Safety Gear
- Gloves
- Safety goggles
- Knee pads
Step 7: Install Underlayment (If Required)
Purpose of Underlayment
- Provides cushioning and noise reduction.
- Acts as a moisture barrier for certain flooring types.
Types of Underlayment
- Foam or Felt: Common for laminate and engineered wood.
- Cork: Great for soundproofing.
- Moisture Barrier Sheets: Needed for installations over concrete.
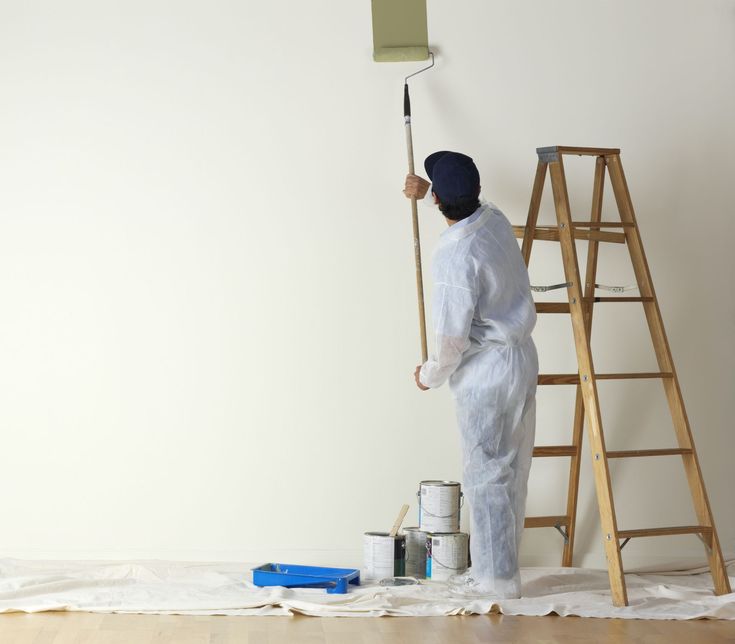
Step 8: Prepare the Room for Installation
Move Furniture and Appliances
- Clear the area completely to provide working space.
- Protect heavy furniture with sliders or moving blankets.
Remove Doors and Trim
- Take off baseboards and door casings for a clean installation.
- Trim door bottoms if necessary to accommodate flooring height.
Step 9: Check for Level Floors
Testing for Uneven Areas
- Use a level to check for high and low spots.
- Mark uneven areas that need adjustments.
Fixing Uneven Floors
- Sand down high spots or use a leveling compound for low spots.
Step 10: Confirm the Installation Method
Floating vs. Glue-Down vs. Nail-Down
- Floating: Click-lock planks that don’t require adhesive.
- Glue-Down: Flooring is adhered directly to the subfloor.
- Nail-Down: Used mainly for solid hardwood.
Check Manufacturer Guidelines
- Follow specific instructions for the best results.
Final Tips for a Smooth Installation
- Double-check all measurements before starting.
- Keep spare flooring for future repairs.
- Allow adhesives or finishes to cure fully before moving furniture back.
By following these steps, you can ensure a hassle-free floor installation that looks professional and lasts for years. Preparing your home properly will make the process smoother and help you avoid costly mistakes.